# Bridge Tutorial
The W3Gamez Network devnet has been launched, opening up exciting opportunities for users to explore and engage with its features. This tutorial will guide you through bridging Holesky ETH to the W3Gamez Network, allowing you to kickstart your journey in this innovative ecosystem.
Before you begin, ensure you have the following:
1. An ETH Address (0x…..abcd)
2. A Crypto Wallet (Metamask, Coinbase Wallet, WalletConnect…)
## Step 1: Get Ethereum Holesky Testnet ETH
1. Visit .
2. Enter your ETH address, complete the captcha, and click “**Start Mining**.” Note: Avoid using a VPN if you are flagged as a bot.
3\. Wait for the mining reward (HolETH) to reach 0.1, then click “**Stop Mining & Claim Rewards**.”
Pree Stop Mining & Claim Rewards
Press Claim Rewards
4\. Now you’ve got your ETH on Ethereum Holesky Testnet.
## Step 2: Go to W3Gamez Network & Bridge your ETH
1. Visit 。
2. Click “**Connect Wallet**” and choose your preferred wallet (e.g., Metamask).
2\. The W3Gamez Network will assist in adding the Holesky Ethereum network; click “**Approve**” and “**Switch Network**.”
4\. You are now connected to the Holesky Ethereum network. Enter the desired **ETH amount** and click “**DEPOSIT**.”
5\. **Confirm** the transaction.
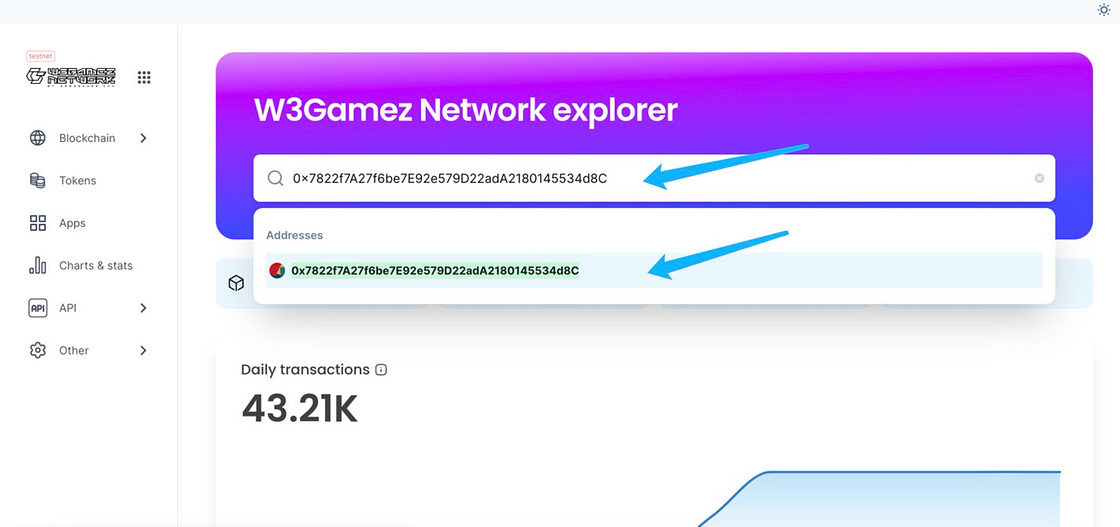
## Step 3: Check your Balance on Explorer
1. Visit .
2. Paste your address in the search bar and click the result.
3\. You can verify the success of your transaction by checking the **Internal txns**. Your ETH balance will be displayed on the page, too.
**🎉 Congratulations!** You have successfully bridged ETH to the W3Gamez Network.
[ ](https://medium.com/@web3games?source=post_page-----f3d452478677--------------------------------)
---
# Agent Instructions: Querying This Documentation
If you need additional information that is not directly available in this page, you can query the documentation dynamically by asking a question.
Perform an HTTP GET request on the current page URL with the `ask` query parameter:
```
GET https://whitepaper.web3games.com/w3gamez-network/tools-and-integrations/bridge/bridge-tutorial.md?ask=
```
The question should be specific, self-contained, and written in natural language.
The response will contain a direct answer to the question and relevant excerpts and sources from the documentation.
Use this mechanism when the answer is not explicitly present in the current page, you need clarification or additional context, or you want to retrieve related documentation sections.